
The Hmmmschooling Mom is a participant in the Amazon Services LLC Associates Program, an affiliate advertising program designed to provide a means for sites to earn advertising fees by advertising and linking to Amazon.com. You can view our full affiliate disclosure here.
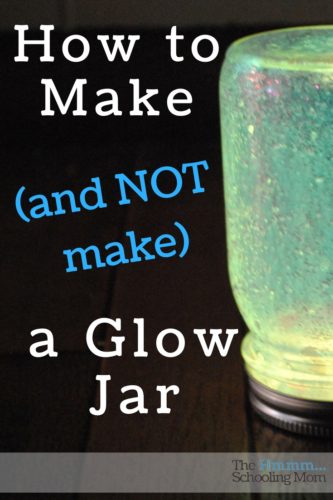
Today we are talking about glow jars. Or fairy jars, star jars, constellation jars…whatever y’all call them in your neck of the woods.
There are a gazillion pins on Pinterest that explain how to make these jars, but it usually boils down to two main ways. We decided to test them both.
How to Make a Glow Jar, Method 1
What you’ll need:
Mason jar with lid
Glowsticks
Glitter
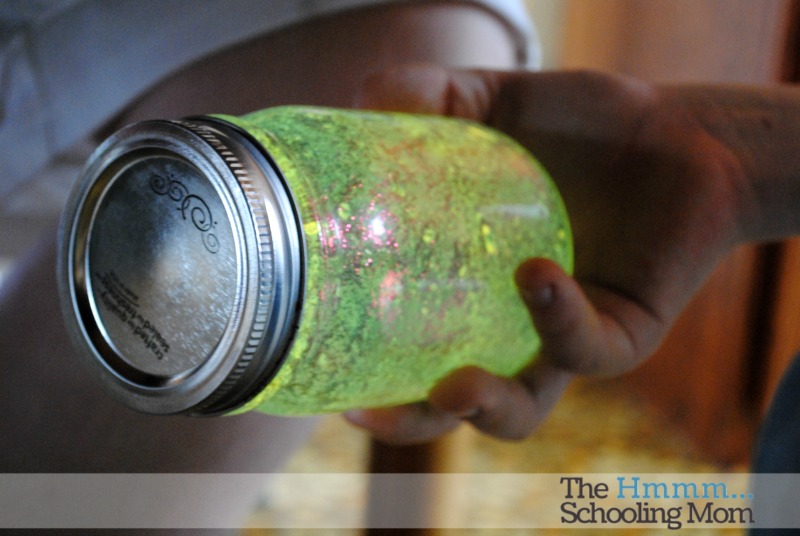
Method 1’s directions usually go along the lines of: cut open a glow stick and empty the contents into a jar.
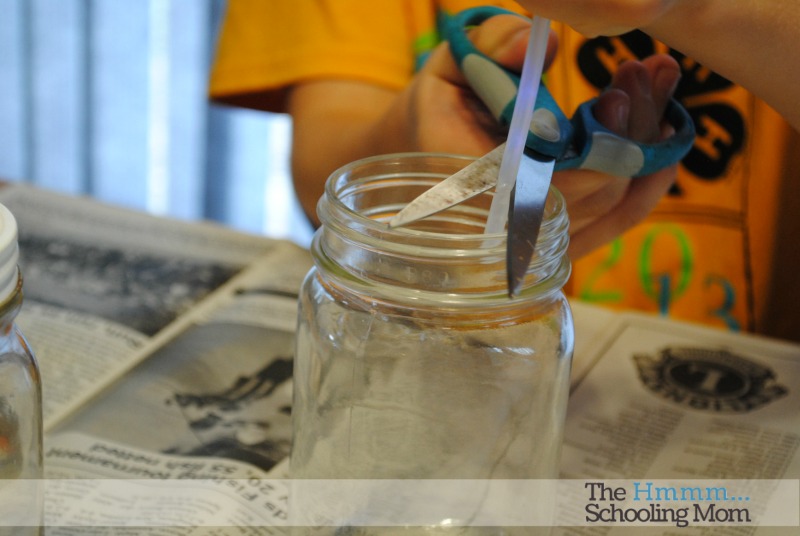
But wait a second. Hold up. There are so many sizes of glow sticks, its hard to know what “one” is supposed to be. The glow sticks we had on hand were 8 inches long and 1/8 inches wide. We used five to eight glow sticks per jar to get enough liquid to swirl around inside the jar.
Secondly, and this is IMPORTANT. There is GLASS inside the glow sticks. Normally you have to “snap” a glow stick to get it to light. That is because there is a glass vial inside the plastic holding the glowy juice. When the glass breaks from the “snap”, the reaction starts. Which means when you cut both ends of the glow sticks to get the liquid out (and you have to cut both ends or the liquid doesn’t drip out) you’re going to mess with the glass inside.
Be careful. Because little shards of glass in the finger can totally did happen.
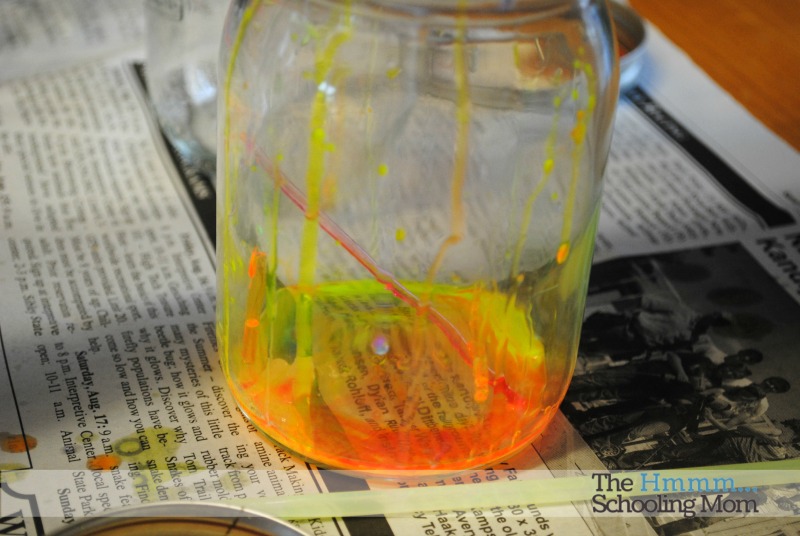
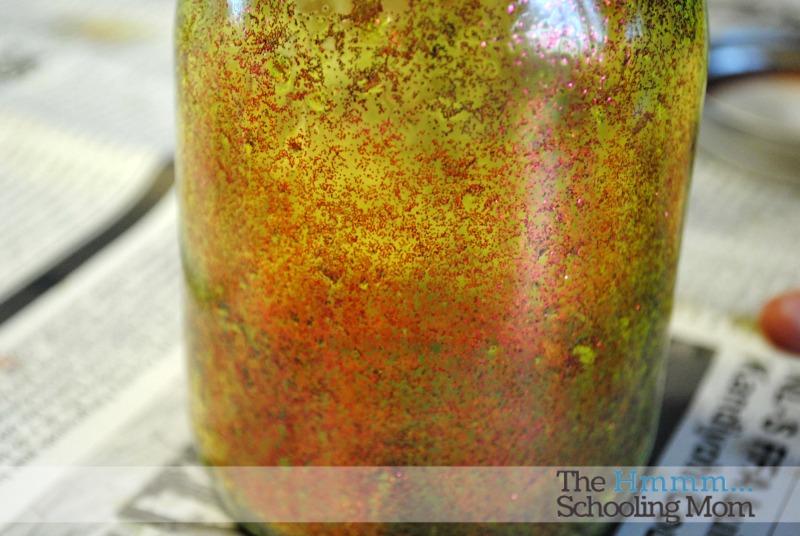
Pinterest Bustin’ Tip: If you tip the jar on its side just a little and pour the glitter down the side (not directly on the bottom), you’ll have more luck with it evenly distributing around the jar when you shake. If you dump the glitter right into the bottom of the jar, the glitter soaks up all the glowy juice and doesn’t distribute all that well.
In our experience, Method #1’s glow jar worked immediately, as shown by one of our Pinterest Busters who shoved it under the table because it was the darkest place nearby.
We then took all our glow jars to the dark hallway.
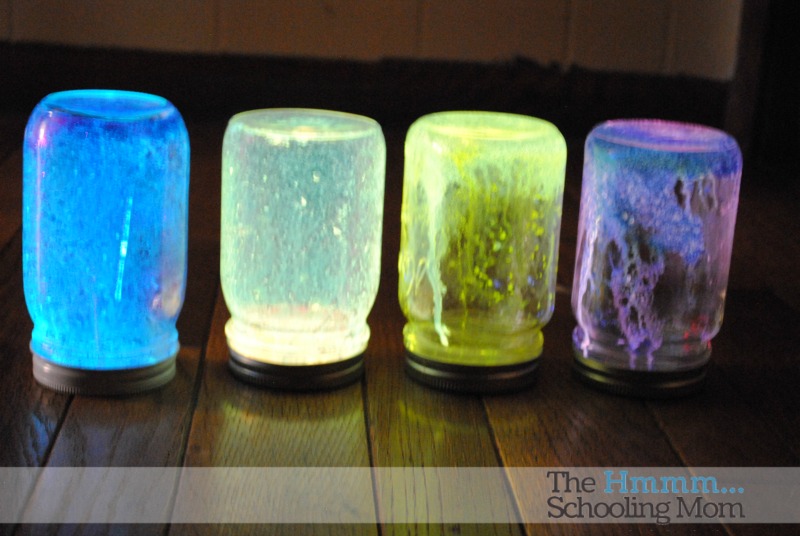
So did we bust the pin? Nope. Not even close. Method 1 totally worked. However, after about an hour these jars are done glowing and can’t be recharged. Which means we needed to test Method Two, which usually claims to be the longer lasting, rechargeable method.
How to Make a Glow Jar, Method 2
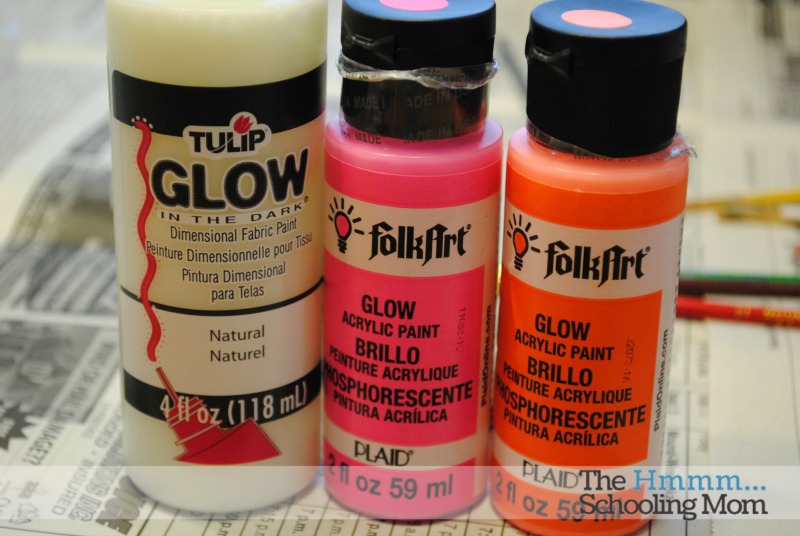
What you’ll need:
Mason jar with lid
Glow-in-the-dark paint
Paintbrushes
 Method 2 directions usually start off with some version of “use your paint to put little dots on the inside of the jar.”
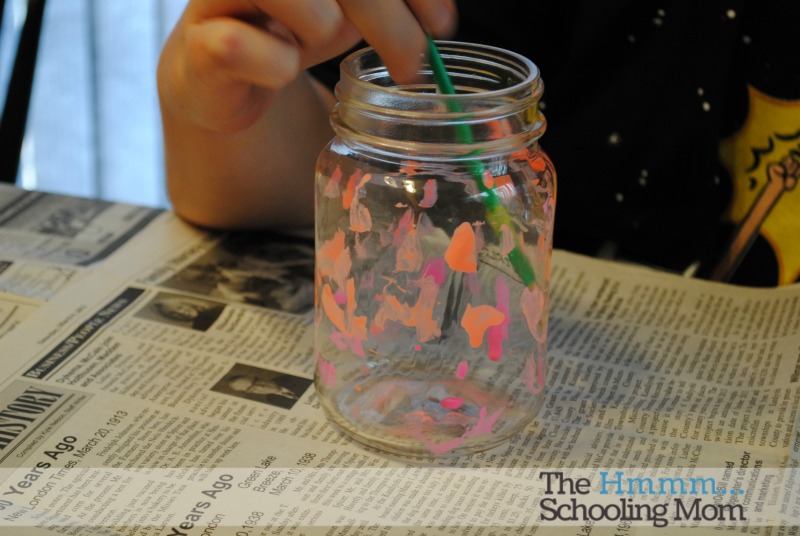
And then, “set it in the sun to soak up some light, and then put in a dark room to see the magic happen.”
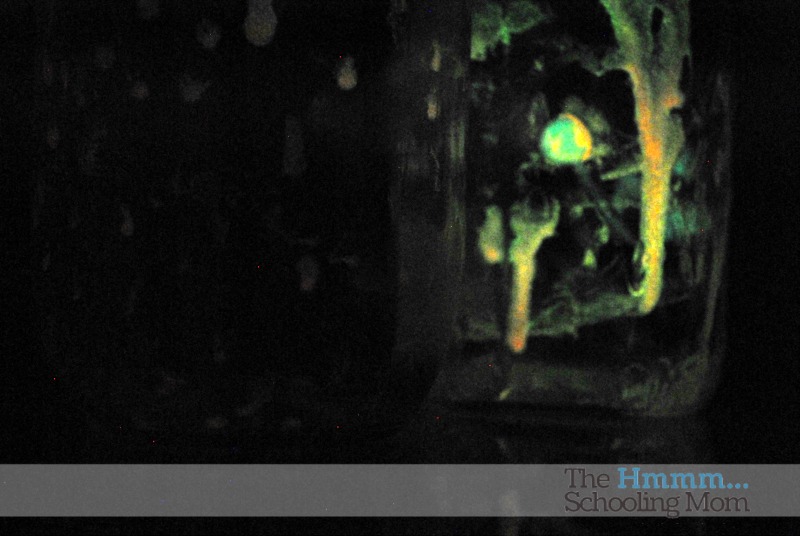
Um…what? These jars sat in the sun for eight hours. 8 hours. And since most of the light you can see in the above picture is from the little bit of light from my camera…I declare “meh”.
Remember—Method 2 claims to be the longer lasting, rechargeable method.
Meh.
So there you have it. Two methods of glow jars tested for your enjoyment. One clear winner and one clear “meh”.
Hey, if we need to keep bustin’ pins for your entertainment and educational advancement, that’s a sacrifice we’re willing to make. And if you’ve got any ideas for pins or experiments you’d like to see busted, leave them in the comments and we will take a look!


Nice! So good to know…
Method 2 will glow under a black light, no charging required. A black light will be required though… (Source: I'm a halloween decoration enthusiast.)
Gotta ask, did you try swishing the glow in the dark paint around the inside of the jar to coat it?
We did not. We were going with the most common directions we found and those always said to paint little dots. It’s worth a try though! If you try it and it works and has more oomph, let us know!